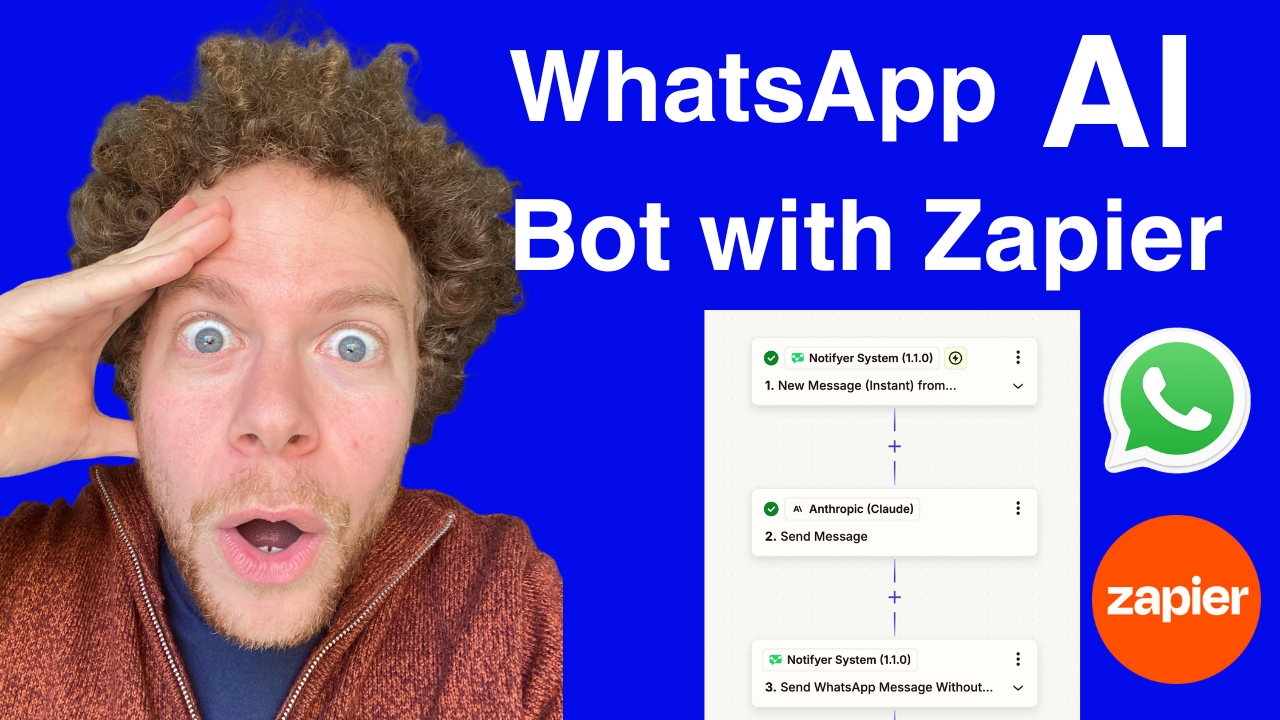
In today's fast-paced business environment, providing instant responses to customer inquiries can make all the difference in conversion rates and customer satisfaction. This guide will show you how to create a sophisticated AI chatbot for WhatsApp using Zapier and AI technology—no coding required.
Why Choose WhatsApp for Your AI Chatbot?
WhatsApp is one of the world's most popular messaging platforms with over 2 billion users globally. The WhatsApp Business Platform offers powerful features for businesses looking to connect with customers where they already spend their time.
Benefits of a WhatsApp AI chatbot include:
- Instant 24/7 responses to customer inquiries
- Reduced workload for your customer service team
- Scalable communication that handles multiple conversations simultaneously
- Increased conversion rates through prompt engagement
- Enhanced customer experience with personalized interactions
What You'll Need
- A Zapier account
- Access to a WhatsApp API service (we'll use Notifyer System)
- An account with an AI service provider (such as Anthropic's Claude or OpenAI)
- A business use case (customer support, order processing, etc.)
Step-by-Step Setup Process
1. Set Up Your WhatsApp API Connection
First, you'll need to access the WhatsApp API through a service provider:
- Sign up for an account at Notifyer System
- Verify your WhatsApp business number
- Familiarize yourself with the dashboard interface
Notifyer System provides tools specifically designed for WhatsApp automation and integrates seamlessly with Zapier.
2. Create Your Zap Trigger for Incoming Messages
Now, let's set up Zapier to listen for incoming WhatsApp messages:
- Log into your Zapier account and click "Create Zap"
- Search for "Notifyer System" as your trigger app
- Select the "New Instant Message from Recipient" trigger event
- Connect your Notifyer System account
- Test the trigger to ensure it works properly
This trigger will activate your workflow whenever a customer sends a message to your WhatsApp number.
3. Connect Claude AI as Your Response Generator
Next, we'll integrate an AI service to create intelligent responses:
- Click the "+" icon to add an action to your Zap
- Search for your preferred AI service provider (like Anthropic or OpenAI)
- Choose "Send a Message" as the action event
- Connect your AI service account
4. Configure Your AI Prompt
The prompt is crucial for guiding your AI assistant's responses:
- In the AI service settings, you'll need to provide instructions for how your chatbot should respond
- Include information about your business, products, and services
- Set guidelines for response length and tone
- Specify what types of questions the bot should and shouldn't answer
Keep your instructions clear and specific to your business needs. The better your prompt, the more effective your chatbot will be at handling customer inquiries.
5. Set Up Memory for Conversation Context
For your AI assistant to maintain context across messages:
- Find the "Memory Key" field in your AI service action
- Use the customer's phone number variable from the trigger step
This ensures your AI remembers previous interactions with each customer, creating a more natural conversation flow.
6. Send the AI Response Back to WhatsApp
Complete your workflow by sending Claude's response back to the customer:
- Add another action step to your Zap
- Select "Notifyer System" as the app
- Choose "Send a WhatsApp Message Without Template"
- Configure the message:
- Recipient: Use the phone number from the trigger
- Message: Select the "Response Context Text" from your AI service step
7. Test Your Chatbot
Before going live:
- Publish your Zap
- Send a test message to your WhatsApp number
- Observe the response quality and timing
- Make adjustments to your prompt if needed
Advanced Features to Consider
Follow-up Messages
Create automated follow-ups for unresolved conversations:
- Add a "Schedule a WhatsApp Message" action in Notifyer System
- Set a delay (30 minutes is often effective)
- Add a condition to check if the conversation needs a follow-up
Conversation Labeling
Use Notifyer System's labeling features to organize conversations:
- Create labels for different conversation stages (e.g., "Confirmed Orders")
- Set up rules to apply labels automatically based on message content
Best Practices for Your AI Chatbot
- Start with a clear introduction that sets expectations
- Keep your AI prompt specific to guide accurate responses
- Regularly review conversations to identify improvement areas
- Create fallback options for complex inquiries that require human intervention
- Update your prompt as your business offerings evolve
Real Business Applications
An AI WhatsApp chatbot can handle various tasks:
- Customer support: Answer frequently asked questions
- Order processing: Guide customers through purchasing
- Lead qualification: Ask qualifying questions before human handoff
- Appointment scheduling: Help customers book services
- Product recommendations: Suggest items based on customer needs
Conclusion
Creating an AI-powered WhatsApp chatbot with Zapier and Claude offers a powerful way to enhance customer communication while saving time and resources. The no-code approach makes this solution accessible to businesses of all sizes.
By following this guide, you've learned how to set up a sophisticated chatbot that can engage with customers 24/7, providing instant responses that feel natural and helpful. As you refine your prompts and workflow, your chatbot will become increasingly effective at representing your business and supporting your customers.
Get started today and transform your WhatsApp business communication into an intelligent, automated system that drives results.


